Using OpenGL ES 3.0 in Kanzi
Kanzi supports the OpenGL ES 3.0 shading language (GLSL ES version 300). With OpenGL ES 3.0 you can use integer textures, floating point and multiple render targets. For example, this allows you to have more precision with the rendered images, you can apply better looking post-processing effects, use HDR for textures and cubemap textures, and create seamless cubemaps.
Before you use OpenGL ES 3.0 make sure that your target platform supports OpenGL ES 3.0.
To use OpenGL ES 3.0 in Kanzi:
- In the > set the Target Graphics API to OpenGL ES 3.
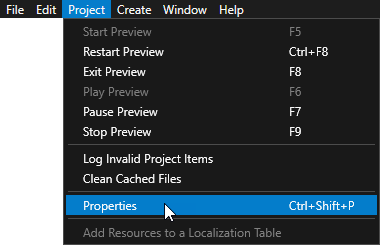
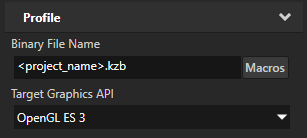
- Add as the first line of vertex and fragment shaders the OpenGL ES 3.0 version tag
#version 300 es
Setting color format of textures
You can import to your Kanzi Studio project HDR and floating point images in .dds format and set the color format of textures which use these images.
To set the color format of textures:
- In the > set the Target Graphics API to OpenGL ES 3.


- In the Library > Resource Files > Images select the image the color format of which you want to set.
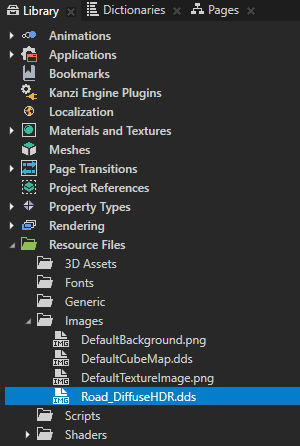
- In the Properties set the Target Format property to Raw.
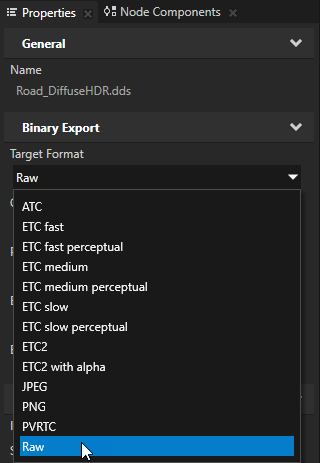
- In the Properties set the Color Format in Raw property to the color format you want Kanzi to use to interpret the texture.
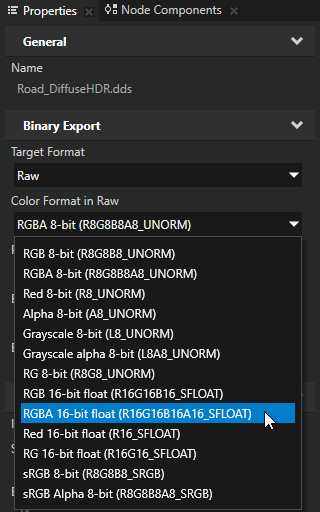
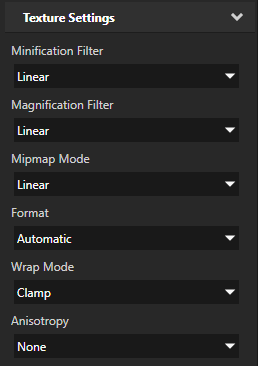
- In the Library > Materials and Textures > Textures select the texture that uses the image the color format of which you set in the previous steps, and in the Properties set:
- Wrap Mode to Clamp
- Mipmap Mode to Linear or Nearest
Setting the format of a render target texture
Set the format of a render target texture to define the target pixel format used by the GPU.
To set the format of a render target texture:
- In the > set the Target Graphics API to OpenGL ES 3.


- In the Library > Materials and Textures > Textures select or create a Render Target Texture.
- In the Properties in Texture Settings set the Format to the target pixel format you want to use.
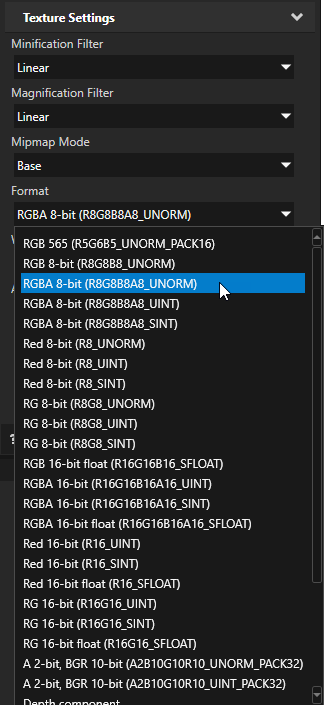
- If your render target textures are in integer target format, set the Minification Filter and Magnification Filter properties to Nearest.
Using multiple render targets
To use multiple render targets:
- In the > set the Target Graphics API to OpenGL ES 3.


- In the Library > Rendering > Render Passes select or create a Legacy Render Pass (deprecated).
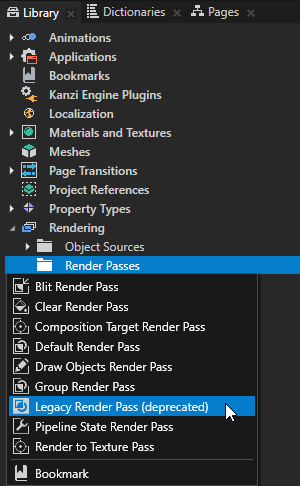
- In the Properties click
 and add the Render Target Color properties.
You can add and set up to four color attachments to a Legacy Render Pass (deprecated).
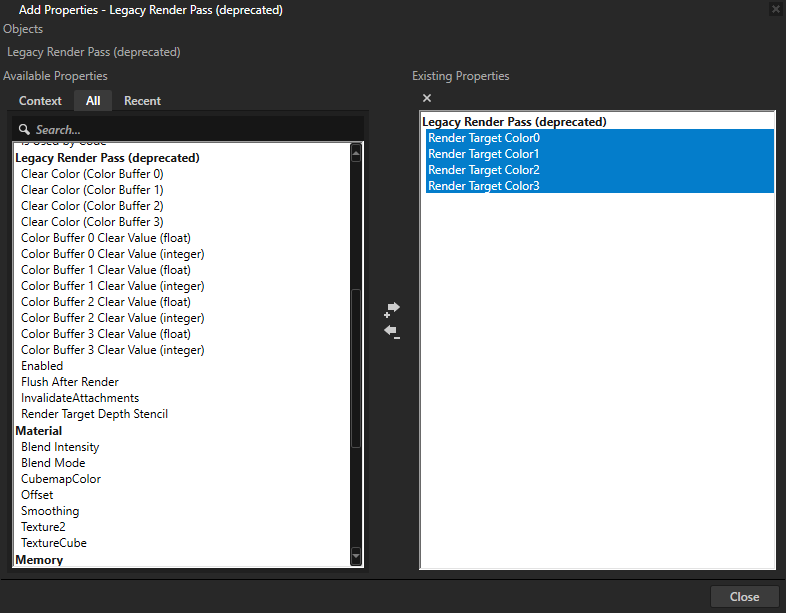
- Set each Render Target Color property to where you want it to render.
You can set a Legacy Render Pass (deprecated) to render to the screen or to a render target color attachment texture. You must set the color attachments in order, without gaps:- Render Target Color0
- Render Target Color0 and Render Target Color1
- Render Target Color0, Render Target Color1, and Render Target Color2
- Render Target Color0, Render Target Color1, Render Target Color2, and Render Target Color3
- In the shader set to which layout location you want to write. For example, if you use two color attachment textures, in the shader you can set
layout(location = 0) out mediump vec4 outColor;
layout(location = 1) out mediump vec3 outNormal;
- If you enabled the Clear Color property for the Legacy Render Pass (deprecated), for each Render Target Color property set the clear color by using either the Clear Color (Color Buffer 0) to Clear Color (Color Buffer 3) properties, or Color Buffer 0 Clear Value (float) (Color Buffer 0 Clear Value (integer)) to Color Buffer 3 Clear Value (float) (Color Buffer 3 Clear Value (integer)) properties:
- Use the Clear Color (Color Buffer 0) to Clear Color (Color Buffer 3) properties to use the 0 ... 1 range and a color picker.
- Use the Color Buffer 0 Clear Value (float) (Color Buffer 0 Clear Value (integer)) to Color Buffer 3 Clear Value (float) (Color Buffer 3 Clear Value (integer)) properties to use unlimited range and a text value input.
Selecting runtime graphics backend
You can select whether you want to use ES or GL in the Application::onConfigure() function, in the application.cfg, or using the command line arguments, if your target supports command line arguments.
On the command line use:
-gles to use ES-gl to use GL-egl to use EGL-wgl to use WGL
| In application.cfg |
GraphicsBackend = type
GraphicsContextAPI = contextAPI
|
In onConfigure() |
configuration.defaultSurfaceProperties.type = type;
configuration.defaultSurfaceProperties.contextApi = contextAPI;
|
| Values |
|
| application.cfg example |
# Sets the surface target for OpenGLES 2.0 rendering and EGL graphics context.
GraphicsBackend = GLESGraphicsContextAPI = EGL
|
onConfigure() example |
// Sets the surface target for OpenGLES 2.0 rendering and EGL graphics context.
configuration.defaultSurfaceProperties.type = KZS_SURFACE_TYPE_ES2_ONLY;
configuration.defaultSurfaceProperties.contextApi = KZS_GRAPHICS_CONTEXT_API_EGL;
|

Open topic with navigation


 and add the Render Target Color properties.
